


This post falls back to my post where I want more baby girls to sew and create for. My girls are out of the hairbow stage. So I tricked convinced our local Joanns to let me teach a hairbow and flower clip class among others. So here I am practicing with you, the blogging world. If you read through my tutorial please leave a comment, tell me what you thought, how it could be better or even if it was spot on. If you share this on your blog please link back.
Most of the classes I teach at Joanns are to people who have no creativity or crafty spirit in them at all. I often assume the little steps are implied, and then find myself going through them step by step in the classes, hoping not to insult anyones intelligence while doing so.
Here are the clippies finished.

Here is your supply list and a picture, incase you need a visual refence like me


Flower
Hairclip
Large 1 inch gems
Coordinating 3/8 inch grosgrain ribbon
Fabritac glue
E6000 adhesive
needle and thread(I use dental floss)
Scissors
wire cutter(to get your flowers off the stems)
Start by removing the flowers from the stems. You also want to remove the flower center(yellow fuzzy part)

You might need wire cutters here.


Now your flower should look naked like these

Now we are going to take our needle and thread and sew aroung the hole in the middle. Our gem is going to cover the stitching. This sewing is going to keep all our layers of petals together.

It doesnt have to look pretty. Again, the gem will be glued over this area and cover the stitching.

Here are the gems I chose. These come in lots of colors and shapes. We are going to use E6000 glue to attach these. DO NOT use fabritac, it will eat the shiney mirror like finish off the back of your gems and you wont like the results. If you dont have E6000, I dont have any other suggestion for you at this time.

You only need a little bit of glue, its spreads thin once you press it on your flower.
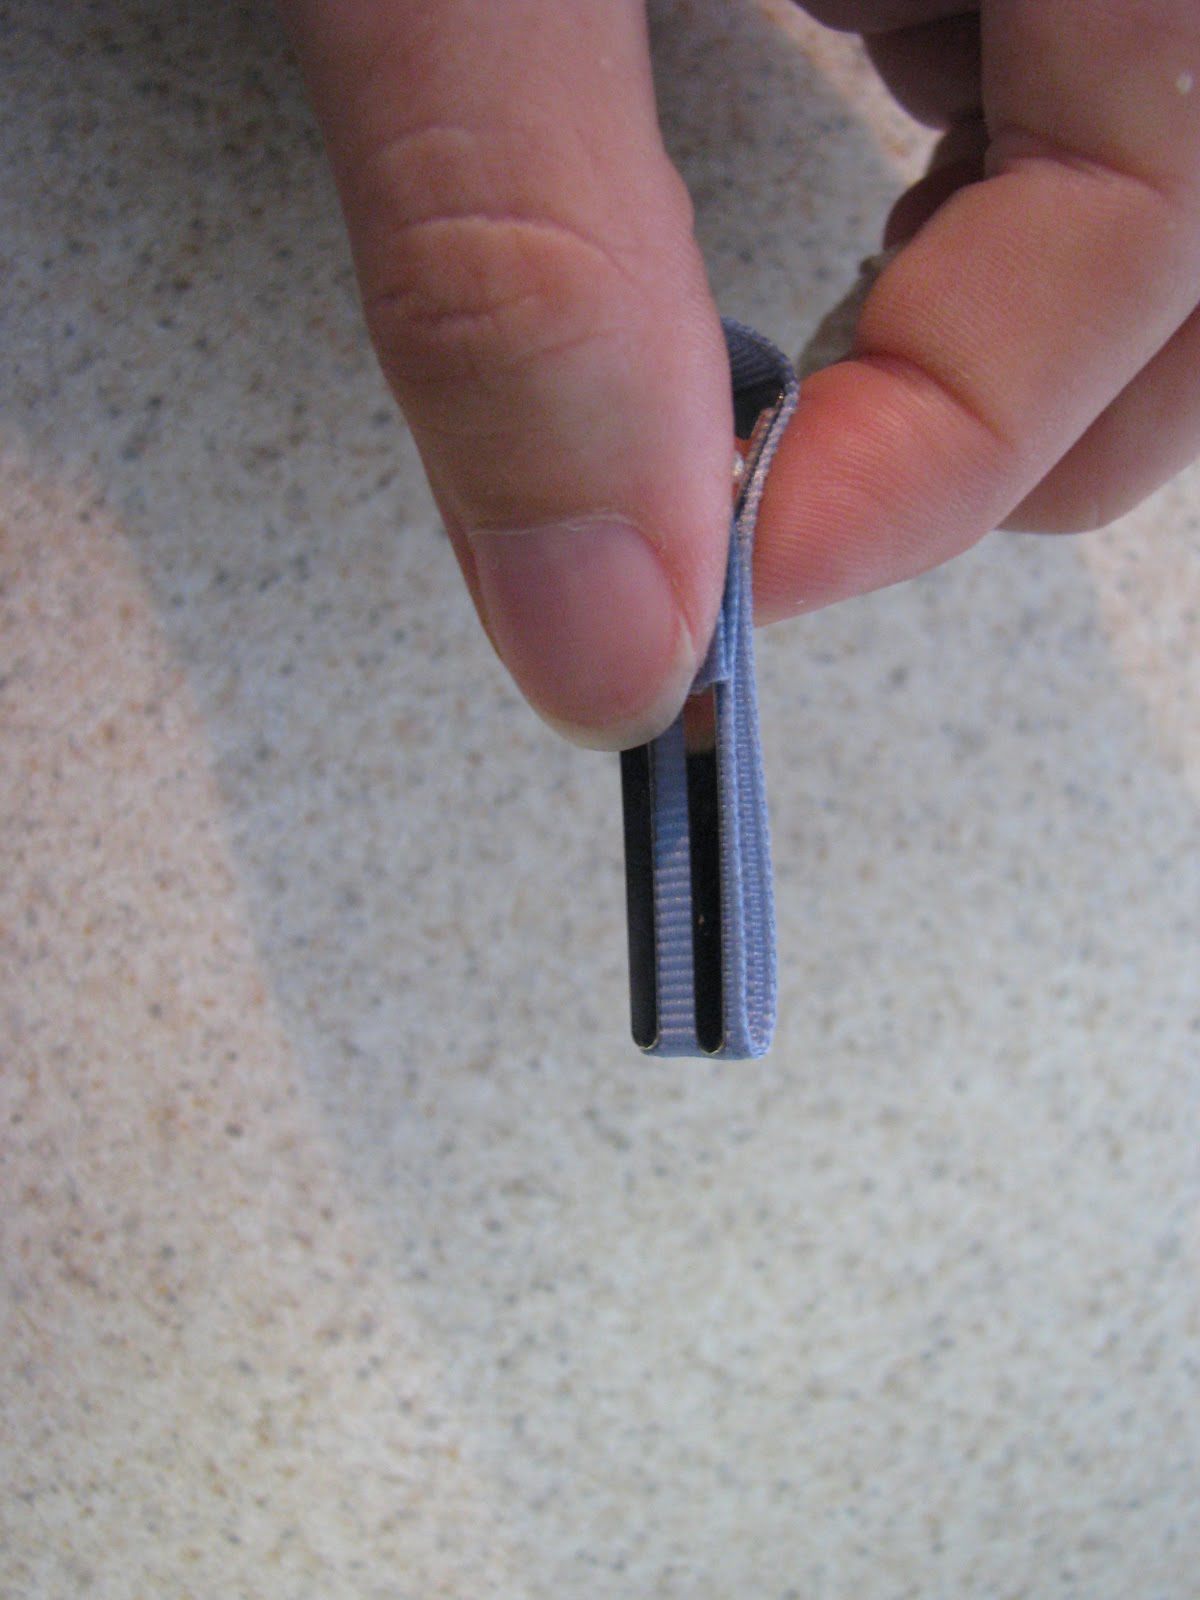
After your gem is placed on the flower with the glue, we are going to line our clips with the ribbon, to give them a more finished look. Once you cut your ribbong to size, I use a lighter and gently pass the ends of my ribbon by the flame NOT THRU THE FLAME and heat seal the ends.

I like to leave one of the prongs of the clip unlined. You can do it however you would like. But this is my technique.
I smooth a layer of fabritac on the ribbon to hold it to the clip. Or you could also use E6000, it just takes longer to dry.
Once you get your clips lined lay a small bead of e6000 on your flower backs and place the ribbon side down on your flower. I use small clamps to smoosh the gem and flower and clip all together, so you have a good glue adhesion to all layers.


And here is the finished product. Now if I had a little girl model, this would be complete.

Please do not use my photos with out asking, but feel free to link to this post if you want to share this tutorial.


9 comments:
What a great tutuorial! Thanks for posting this and for being my newest follower.. Now I am yours! Love your blog name!
Amie @ Pinkapotamus
These are amazing!! I love those clips...they hold great in little ones hair!! Thank you oh so much for linking up this sweet creation at the FABULOUS FRIDAY FINDS party today!! I hope your weekend is wonderful!
Hugs,
~Terrell @ Frou Frou Decor~
Great tute! Thanks for linking it up to Thrilling Thursdays @ Paisley Passions. Hope to see you again next week :)
Great tutorial! I love the name of your blog, it just rolls of of your tongue!! Thanks for your nice comments!
What a great tutorial! Those are super cute! My only issue is that I have three boys and I don't think any of them would let me come within 10 feet of them with a flower barrette like that. :) Congrats on being tickled pink! I love Holly's site! Have a great holiday weekend!
So pretty. I have made several of these but never stitched the flower together. I will have to remember that for next time. Thanks for linking up with Make It Fantabulous!
Joy
mommaskindacrafty.blogspot.com
These are so pretty - LOVE the sparkle in the middle! Thanks for linking up to Tickled Pink - what a great tutorial! I am a new follower!
Holly
What a great blog!! I am really enjoying looking around. Thanks for sharing!! I am now a new follower!! Nicole @ colieskitchen.com BTW I found you on Bloggy Blog Hop!!
These are so pretty. I love the gems in the center.
Post a Comment